

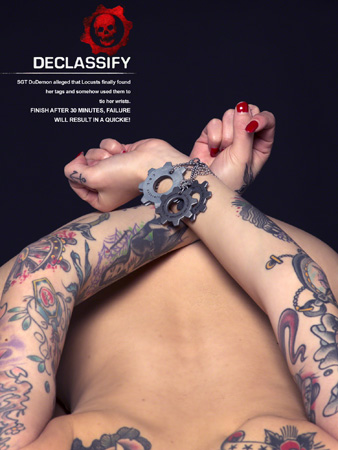
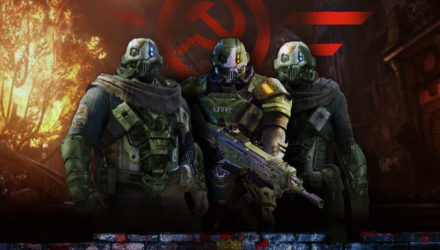
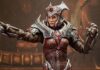
This time we would like to tell you a story. Since the arriving of Judgment we discovered that even the High Command, like every military institute, has the habit to hide certain informations to the most of the Gears fighting for it. We have obtained a classified file about a Gear belonging to C.O.G. Anonymous squad.. and its content has been now exposed to public knowledge for you.
Thanks to SGT DuDemon that allowed this issue.. she is a thought Gear with already several magazine covers in her experience.. it wasn’t so easy to choose only 18 documents on a shooting of more than three hundred.


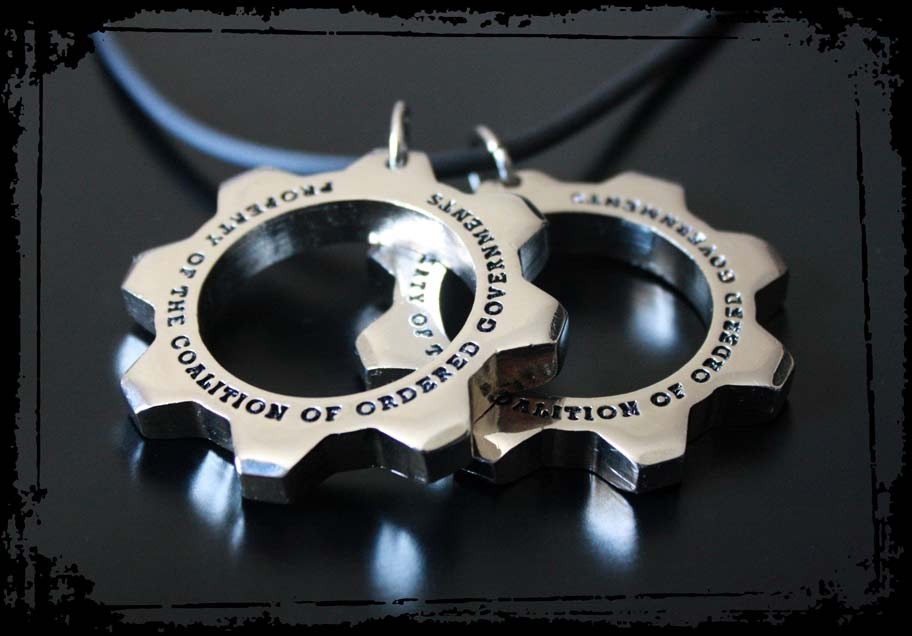
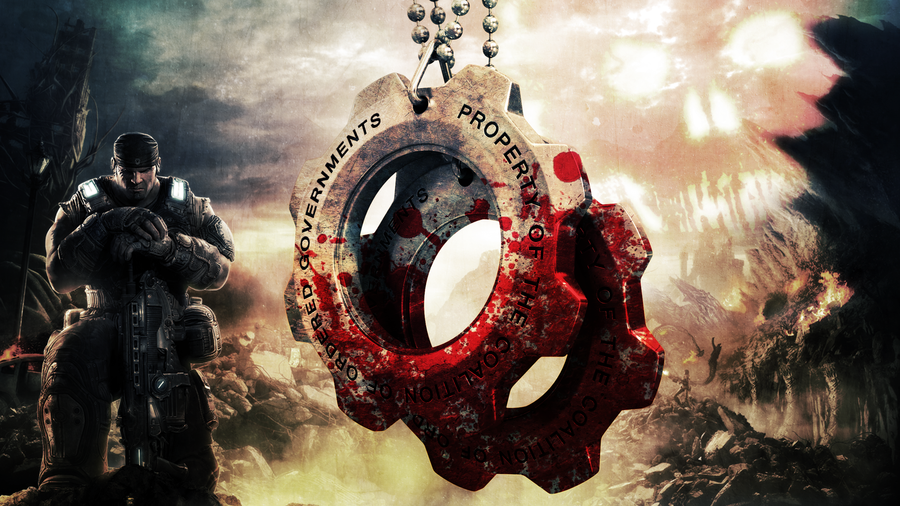
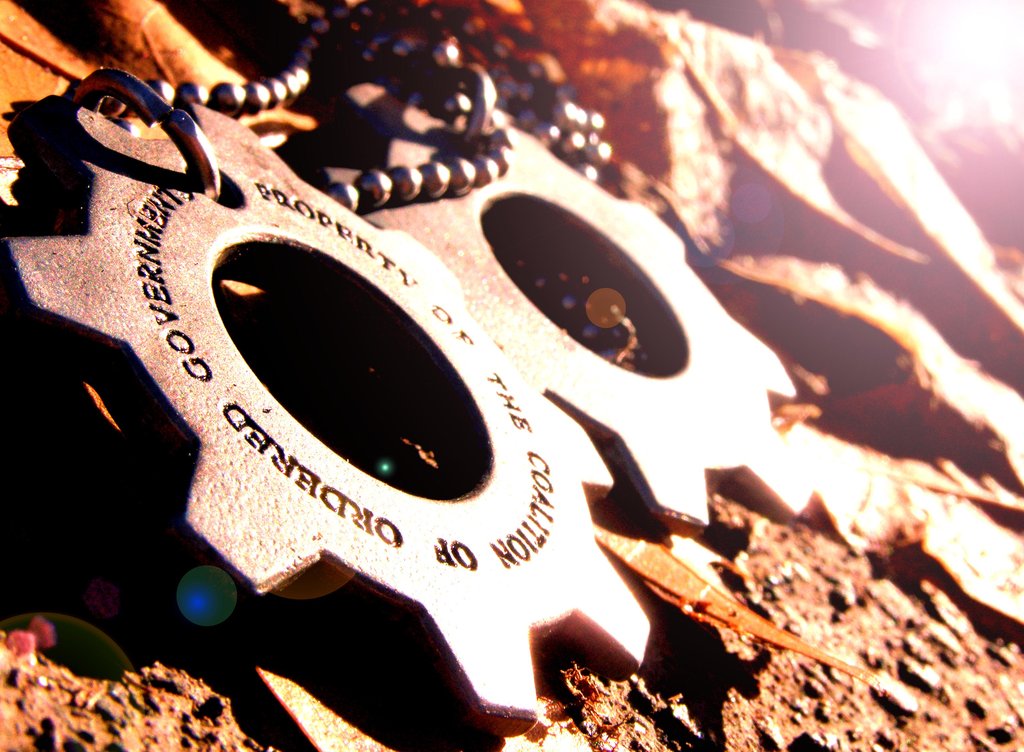
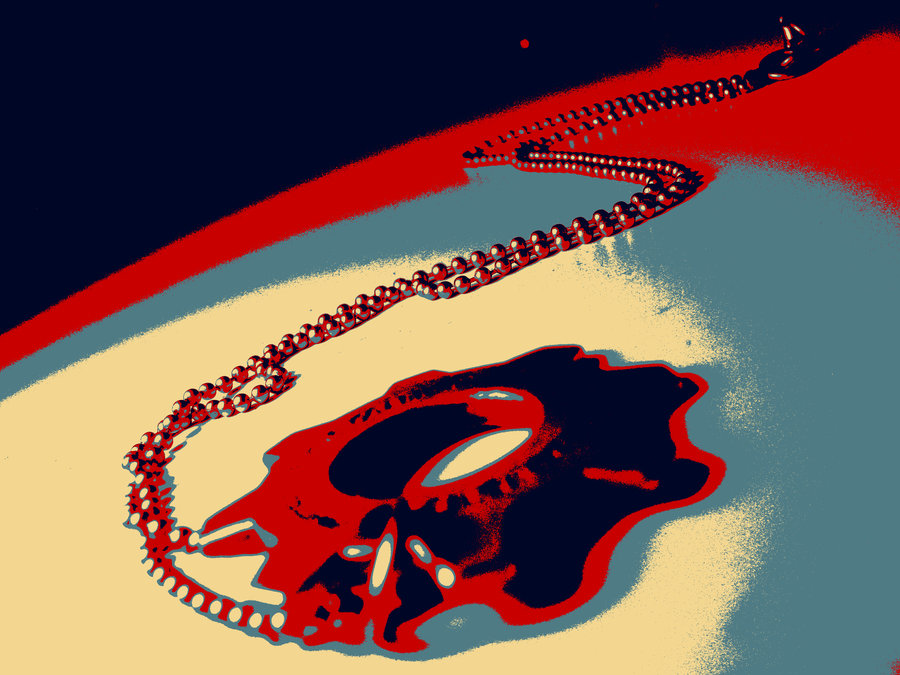
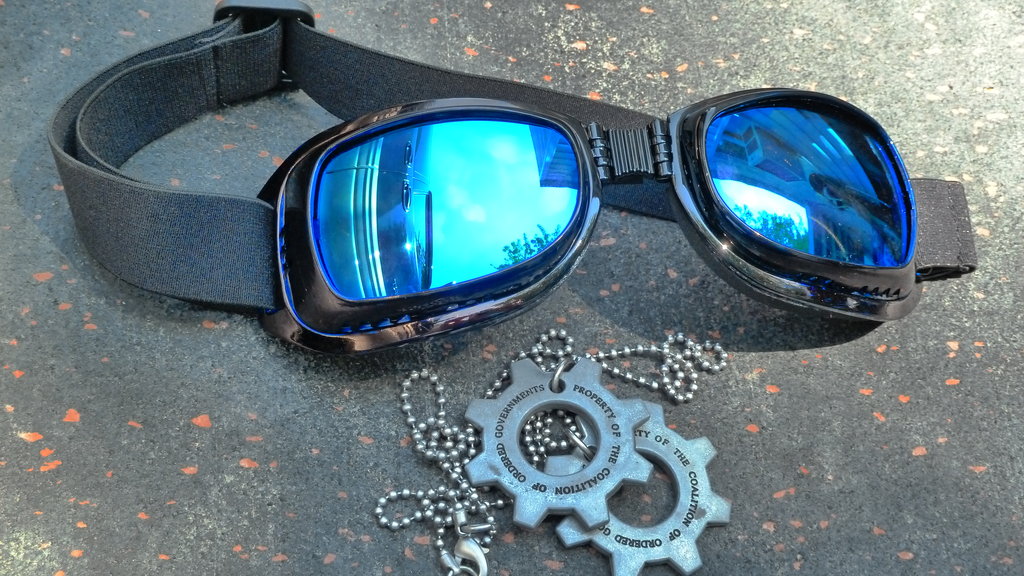
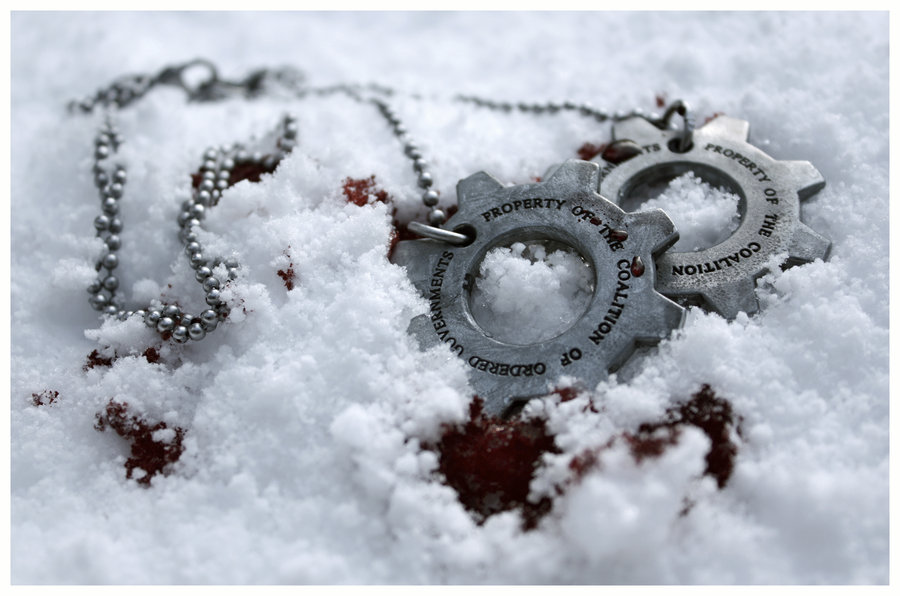
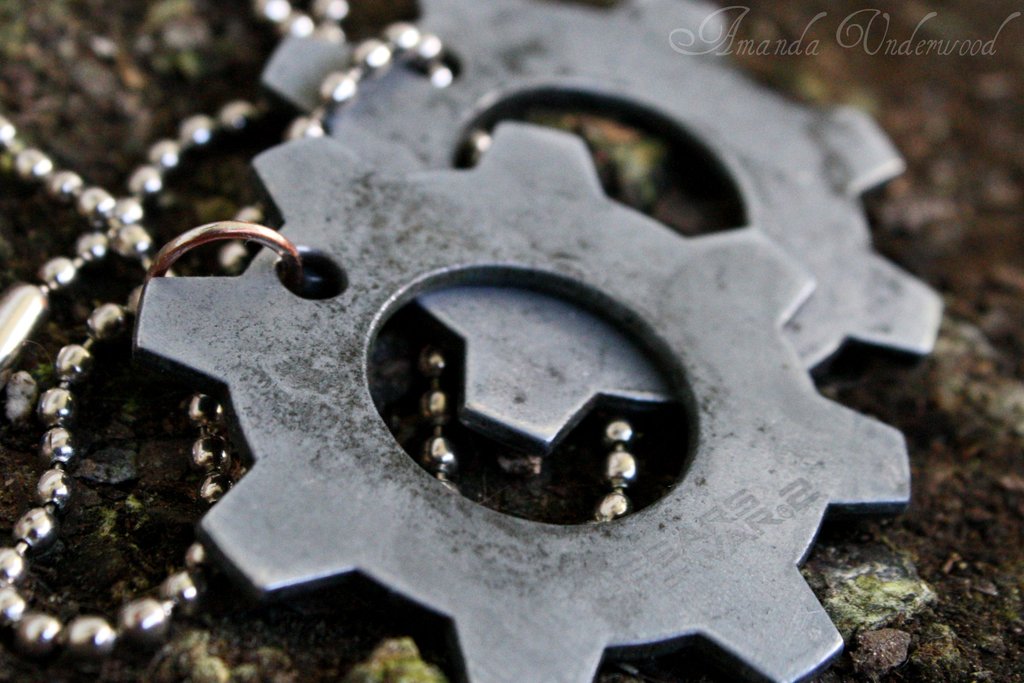
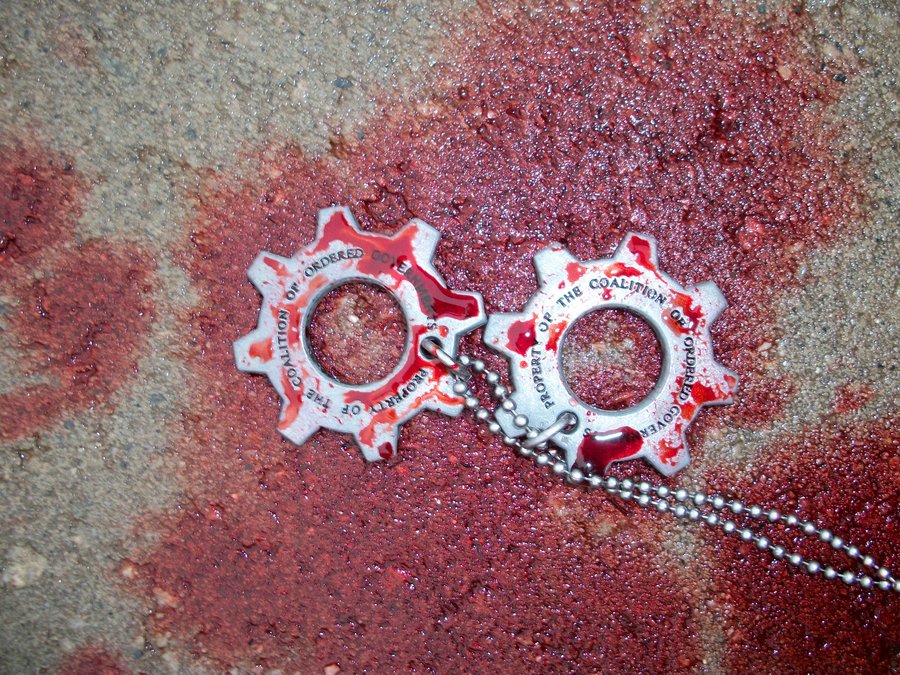
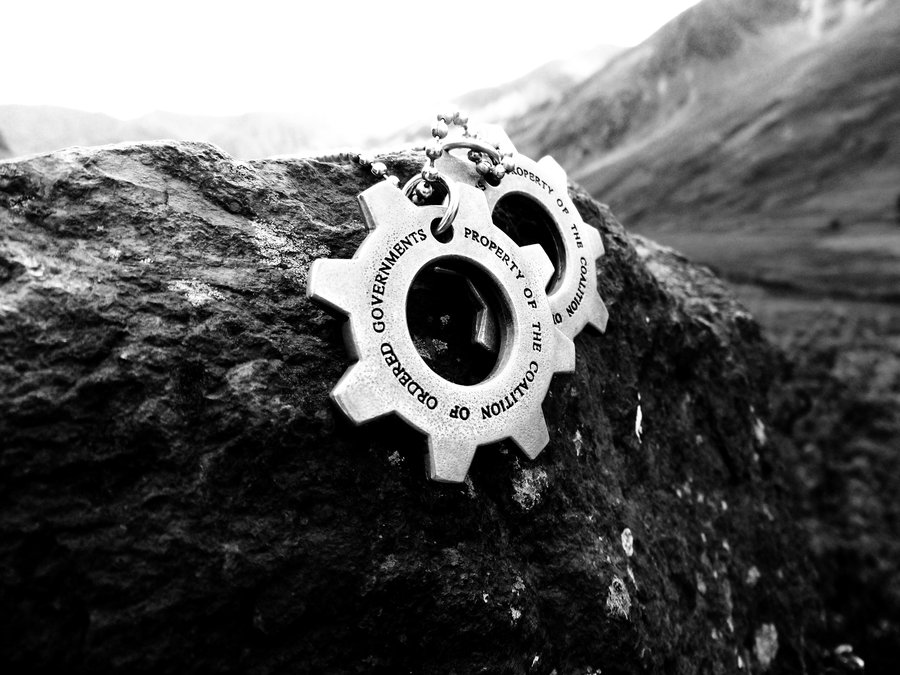
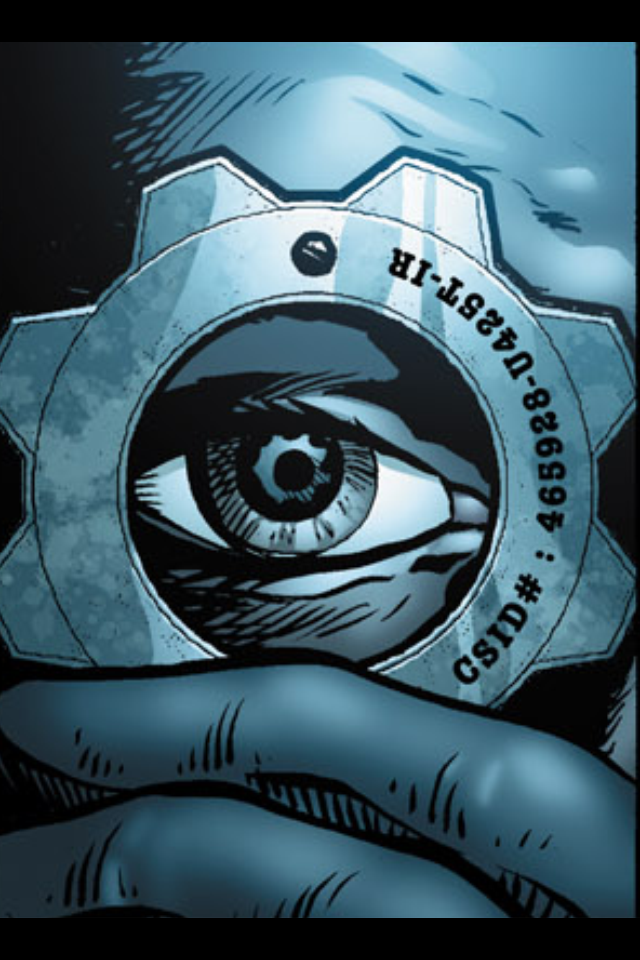
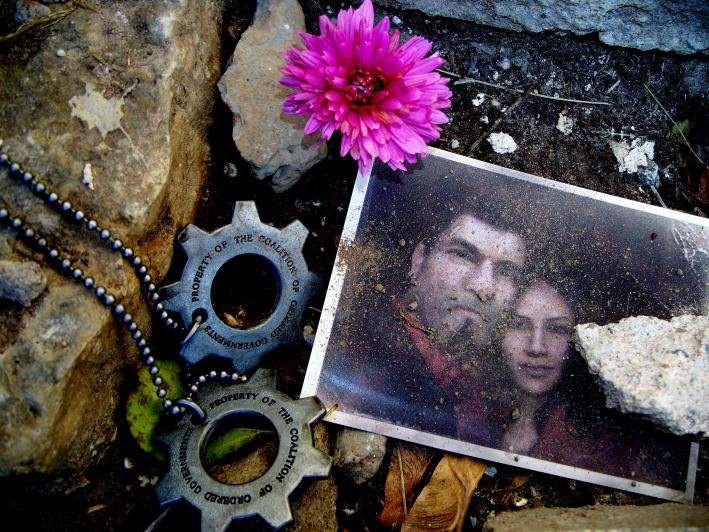
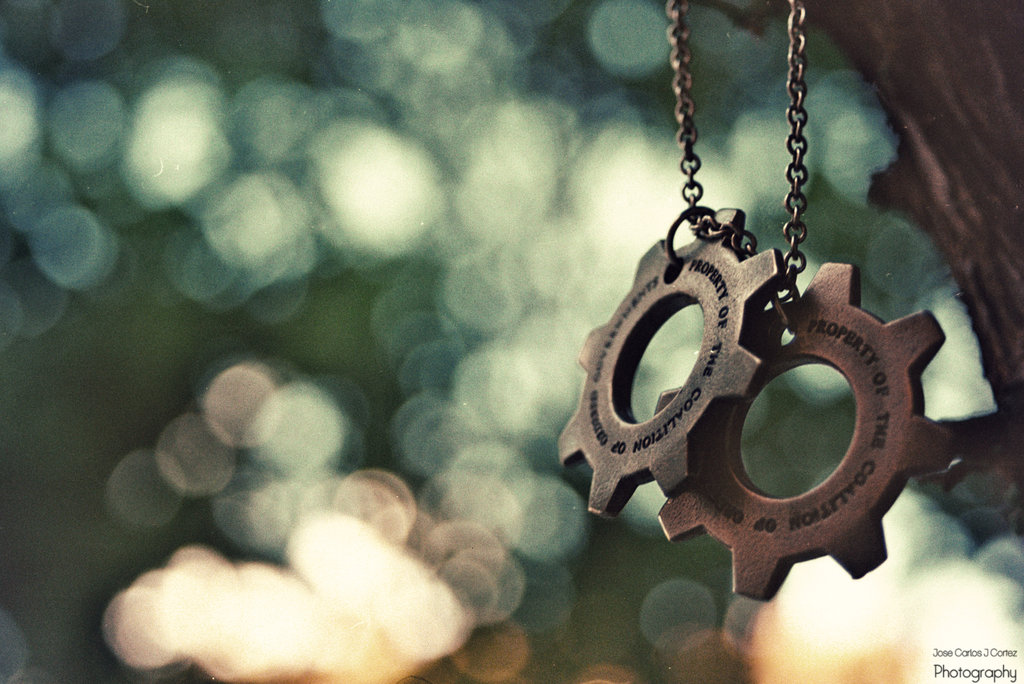
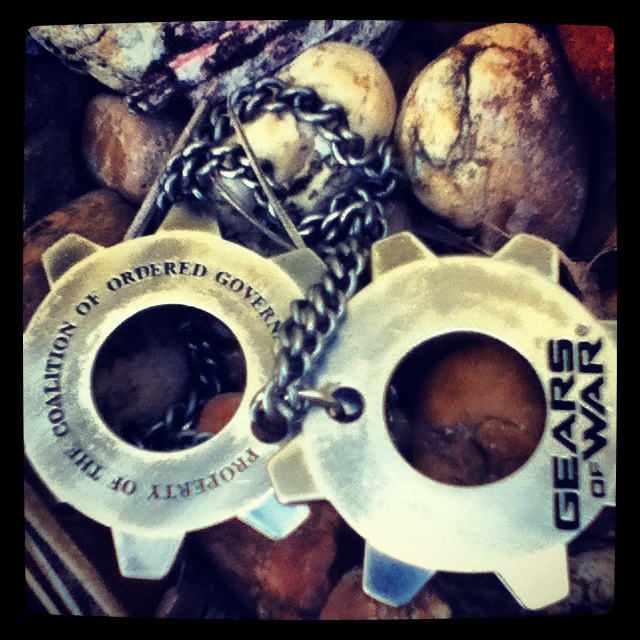
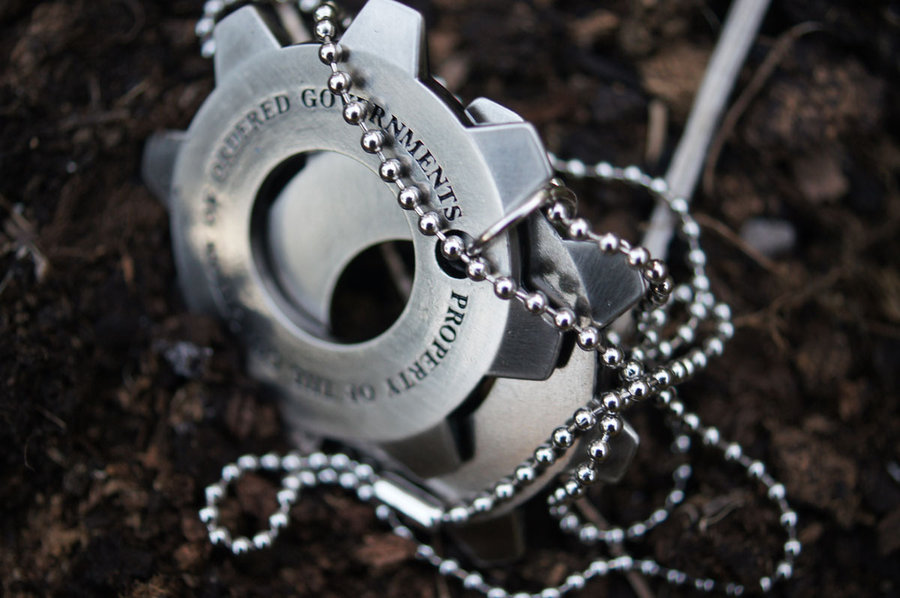
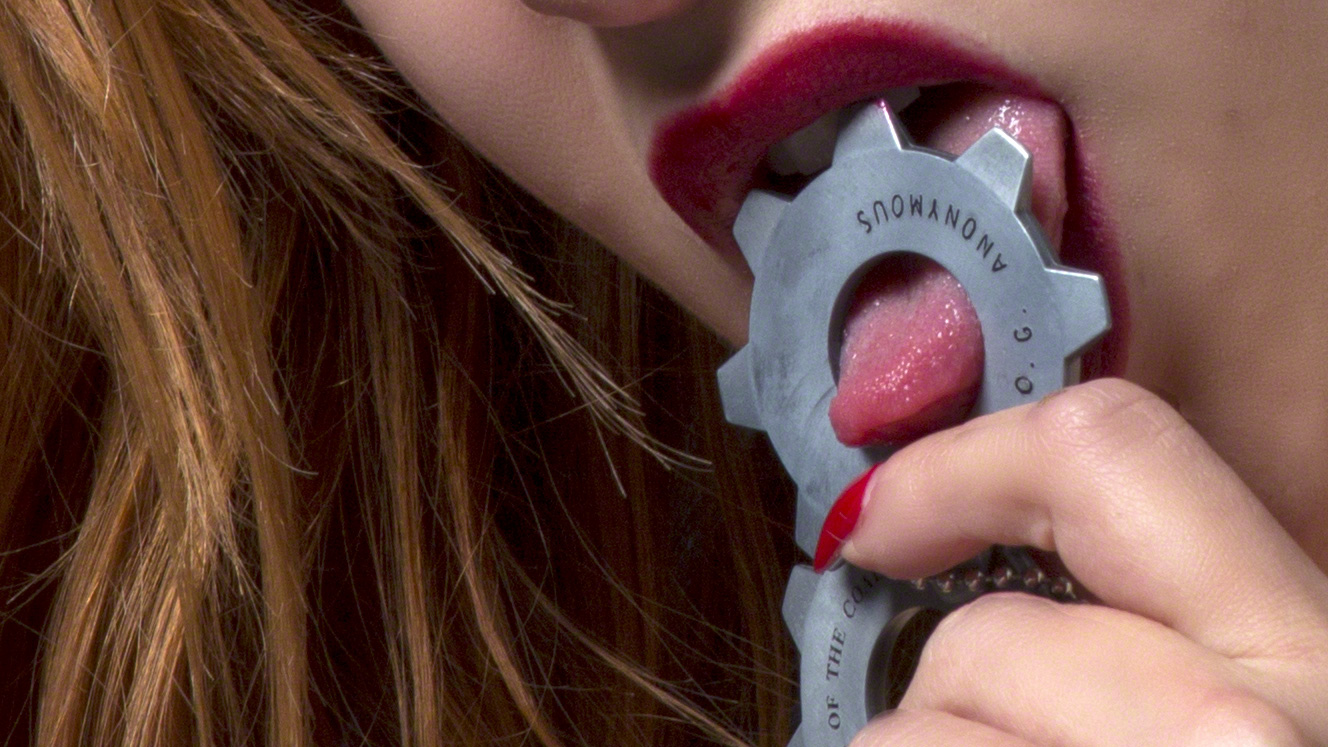
The COG Tag was a form of identification worn by Gears of theCoalition of Ordered Governments. Whenever a Gear had fallen in battle, the tags would be retrieved when possible. This was a way to keep track of the soldiers that were killed in action. It has been said that the families of deceased Gears were prepared to pay substantial amounts of money to have the COG Tag of a fallen loved one recovered. The text written on a tag is: “Property of the Coalition of Ordered Governments


You shouldn’t miss any of the tags scattered through the Judgment and Aftermath campaign.. their locations are showed in a video and described below.
VIDEO: Gears of War: Judgement – All COG Tag Locations (Respect For The Fallen Achievement Guide)
The Museum of Military Glory
COG Tag #1
Gear Name: E.Kogan, Sgt, Jacinto
Reason of death: K.I.A. when a glowing Wretch that pounced on him was shot and exploded.
Section: Old Town
Location: At the end of the section, look to the right of the burning roadblock and enter the small front yard of a building with a red skull painted on the exterior. Check out the alley to the right of the mark.
COG Tag #2
Gear Name: J.Los, CPL, Kinnerlake
Reason of death: K.I.A. from friendly fire when he accidentally ran in front of his fire team.
Section: Riverwalk District
Location: There’s a narrow alley past the statue fountain near shallow steps. Look in the alcove to the right.
COG Tag #3
Gear Name: L.Gaffney, PFC, Halvo Bay
Reason of death: K.I.A. in locust ambush, was first to die.
Section: Museum Gardens
Location: After cutting through the door leading outside, use the steps directly ahead to find an optional path with the tags past an extra set of grenades.
COG Tag #4
Gear Name: S.Paturo, PFC, Lima
Reason of death: K.I.A. from locust grenade trap.
Section: Great Hall
Location: Jump into the shallow water by vaulting over the low cover in the statue fountain in the center of the section.
COG Tag #5
Gear Name: A.Guinot, MSgt, Jacinto
Reason of death: K.I.A. from Corpser attack, was impaled.
Section: Kashkur Wing
Location: Before leaving this section, look in the area below the turrets, between the platform reachable by two sets of steps and a pillar.
COG Tag #6
Gear Name: W.Carmine, SPC, East Timgad
Reason of death: K.I.A. by Locust OneShot.
Section: East Wing
Location: Look for a small room on the right side of the room, past the armor cases. You should be able to spot a red skull marker on one of the pillars on the right, signifying the tags are nearby.
COG Tag #7
Gear Name: R.Wood, 2LT, Vonner Bay
Reason of death: K.I.A. by Kantus when she attempted to take to it hand-to-hand.
Section: Archives
Location: Inside the archive room, turn left at the exit door to find a red skull mark on the wall. The tags are in a dark corner to the right.
COG Tag #8
Gear Name: T.Loomis, 1LT, Halvo Bay
Reason of death: K.I.A. by Schorcher when cornered with his man.
Section: Vaults
Location: Before reaching the end of the section, look on the right wall inside the lowest section of the wrecked chamber. Before going up the steps, look for the red mark. The tags are on the ground, near the cracked ledge.
Halvo Bay Military Academy
COG Tag #1
Gear Name: W.Felhofer, PFC, Hanover
Reason of death: K.I.A. by Boomshot round while attempting to draw enemy fire.
Section: Enfield Bridge
Location: Near the center of the massive bridge, start at the large square and check out the main bridge road where there’s a large broken section.
COG Tag #2
Gear Name: A.Sullivan, SSGT, Andius
Reason of death: K.I.A. by multiple Tickers in coordinated attack.
Section: Courtyard
Location: Just entering the stately building, look left for a small optional room entered through an open doorway. The tags are on the ground near the trophy case.
COG Tag #3
Gear Name: G.Bixhorn, MAJ, Jacinto
Reason of death: K.I.A. after Reaver attack, took several hours to expire from injury.
Section: R&D Labs
Location: After the attack, look inside the room where the second wave of Locusts burst through. There are several sparking generators inside, check the back corner to find this tag.
COG Tag #4
Gear Name: T.Perham, PFC, Hatton
Reason of death: K.I.A. during encounter with Ragers, was beaten to death.
Section: Monroe Commons
Location: Up the stairs into the burning rooms, enter the chamber on the right with a red skull against the back wall. Enter the door to the left of the marker and check behind some counters across the next large room.
COG Tag #5
Gear Name: D.Andrade, 1LT, Montevado
Reason of death: K.I.A. after he fell an Emergence Hole.
Section: Atrium
Location: Inside the first room, vault over the low cover ahead and look for an open room to your right.
COG Tag #6
Gear Name: M.Alexieff, SPC, Halvo Bay
Reason of death: K.I.A. in battles against Karn, was last Gear standing in the Academy.
Section: Crash Site
Location: At the start of this section, turn around and look for the tag at the top of the steps leading toward the barricaded entrance into the building.
Seahorse Hills
COG Tag #1
Gear Name: M.Reid, PFC, Ephyra
Reason of death: K.I.A. when a Boomshot round exploded his transport.
Section: Amador Park
Location: Check the stone patio near the end of the section. Turning around and looking at the stairs will reveal a red skull. Check one of the corners of the platform to find this tag.
COG Tag #2
Gear Name: D.Carmine, PVT, East Timgad
Reason of death: K.I.A. when a stray bullet ricocheted.
Section: Magadha Villa
Location: At the end of the section, your allies will wait at a gate on the road. Run down the street and look behind the stone wall on the left.
COG Tag #3
Gear Name: K.Axford, PVT, Vonner Bay
Reason of death: Shot for cowardice and desertion by commanding officer.
Section: Soleno Villa
Location: Before turning right to head up the street and leave the section, check between two cars at the metal gate.
COG Tag #4
Gear Name: J.Carlson, CPT, Halvo Bay
Reason of death: K.I.A. when he sacrificed himself by leaping upon and enemy grenade.
Section: Windward Way
Location: On the road, look for an open blue container with ammo inside. Check out the bloody mess on one side of the container to collect the tag.
COG Tag #5
Gear Name: K.Sutton, PVT, New Sherrith
Reason of death: K.I.A. by Mortar round while trying to revive a downed comrade.
Section: Risea Estate
Location: Through the section, look for a road leading down into a collapsed underground garage. In the back left corner near the rubble you can find the tags.
COG Tag #6
Gear Name: I.Hogina, PFC, Autrin
Reason of death: K.I.A. during ferocious Locust firefight, apparent battlefield suicide.
Section: Guest Bungalows
Location: Get down into the ground level below the Locust Mortar teams and look for an open room marked by a red skull.
COG Tag #7
Gear Name: G.Frost, SPC, Jacinto
Reason of death: K.I.A. while trying to prevent Locust from killing civilian families.
Section: Elliott’s Mansion
Location: Down in the center of the mansion is a collapsed fixture. Circle it to find one of the stairwells marked by a red skull. Go up the steps and turn right to go up more steps, then look right for a dark corner hiding these tags.
Onyx Point
COG Tag #1
Gear Name: B.Michandani, PFC, Lake Station
Reason of death: K.I.A. during Locust attack on Onyx Point, was attempting to protect a weapons cache.
Section: Fortress
Location: Near the end of the section, head down the path right of the exit point. Enter the room at the end of the road and look behind the barrels to find this tag.
COG Tag #2
Gear Name: T.O’Neill, CW2, Andius
Reason of death: K.I.A. by sniper while trying to radio back to mainland for reinforcements.
Section: Container Terminal
Location: Check for the bridge on the right after clearing the area of enemies, and look for stairs leading up into a dead end with a blue container marked by a red skull. Down the path, past the container, the tag is on the ground.
COG Tag #3
Gear Name: C.White, CPT, Halvo Bay
Reason of death: K.I.A. by Cleaver-bearing Theron Guards.
Section: Motor Pool
Location: At the start of area, up a grassy hill look against the left metal wall. At the top of the hill turn around to check out the alcove to the left of the ramp.
COG Tag #4
Gear Name: H.Molnar, SGT, Ephyra
Reason of death: K.I.A. while trying to set a grenade trap.
Section: The Cliffs
Location: Just at the start, look left for a small platform. Run up the steps and look behind the barrels.
COG Tag #5
Gear Name: B.Newman, PFC, Port Caval
Reason of death: K.I.A during Ink Grenade attack, suffocated.
Section: Central Base
Location: Look for a room filled with metal ammo boxes. The tags are on the ground, right next to a small set of steps leading down from the same ammo room.
COG Tag #6
Gear Name: L.Zhang, 2LT, Jacinto
Reason of death: K.I.A. after ordering a retreat back to Central Base.
Section: Central Control
Location: At the missile command terminal, turn right and follow the path leading away from the terminal toward a dead end containing this tag.
COG Tag #7
Gear Name: S.Garooon, 2LT, Soteroa
Reason of death: K.I.A. after successfully locking down elevator to Onyx Point’s main armory.
Section: Beach
Location: Right at the start, you’ll enter a burning section of the underground path. Right as you enter the fire-lit room, look in the left corner.
Downtown Halvo Bay
COG Tag #1
Gear Name: D.Yalovsky, SPC, Halvo Bay
Reason of death: K.I.A. from enemy fire while attempting to prevent a civilian from falling into an Emergency Hole.
Section: Wharf District
Location: Entering the large area with a green glass canopy, look left for a red skull mark on the wall. Left of the marker is a post board, with the tag underneath.
COG Tag #2
Gear Name: J.Moreno, MAJ, Ephyra
Reason of death: K.I.A. while cornered by a Cleaver-wielding Locust.
Section: Parade Grounds
Location: Down the large road, look on the right side for a red marker on a stone brick wall near a set of steps. Run up the stairs to the area above and turn right at the top to find the tag.
COG Tag #3
Gear Name: N.Vietzen, SGT, Andius
Reason of death: K.I.A. when a makeshift bridge across two adjacent rooftops collapsed.
Section: Upper State Street
Location: Near the large yellow building is a destroyed building. Start from the yellowish building and look against the concrete wreckage to find this tag, before stepping onto the piled-up debris.
COG Tag #4
Gear Name: S.Bishop, COL, Gerrenhalt
Reason of death: K.I.A. by Torque Bow round while trying to divert civilians toward better cover.
Section: State Street Rooftops
Location: On the roofs, you’ll eventually reach a wooden bridge. Look for a ramp to the left of the bridge before crossing it and check behind the vent cover to find the tags.
COG Tag #5
Gear Name: J.Corbin, 1LT, Jacinto
Reason of death: K.I.A. by enemy fire as she was escorting civilians toward higher ground.
Section: First Avenue Rooftops
Location: Just at the start of the section, check the piles of building supplies to the left of the tiled roof.
COG Tag #6
Gear Name: P.Surrs, CPT, Hannover
Reason of death: K.I.A. when an unseen Serapede crept up behind him.
Section: Museum Square Rooftops
Location: Near the end of the section you’ll enter a large rooftop area with steps leading to upper roof portions. In the back corner of this area, there’s an easy to spot red marker against a back wall. The tag is on the ground in the shadows.
COG Tag #7
Gear Name: J.Salton, PFC, Autrin
Reason of death: K.I.A. by Reaver-fired rockets while attempting to protect civilians.
Section: Overlook
Location: After the first wave of enemies bursts into the area, check through the door to find another set of open doors on the left inside to find a room containing this tag.
The Courthouse
COG Tag #1
Gear Name: B.Clarkson, 1LT, Tollen
Reason of death: K.I.A. during Cadet Hendrick’s testimony.
Section: Grand Courtroom
Location: In the massive room, look on the sides of one of the podiums to find which is marked with a red skull. Climb up to the podium itself to collect the tags.
COG Tag #2
Gear Name: T.Carlson, 1LT, Halvo Bay
Reason of death: K.I.A. during Lt. Baird’s first testimony.
Section: Halls of Judgment
Location: Down the large hall, look against the left wall for a skull and exit out onto the barricaded ledge. Check the back corner to find the tags.
COG Tag #3
Gear Name: S.Mograbi, PFC, Jacinto
Reason of death: K.I.A. during Private Cole’s testimony.
Section: Terrace
Location: On the way to the exit of this section, look to the left of the waypoint to find a skull on one of the pillars. Look across from the waypoint near a pile of sandbags.
COG Tag #4
Gear Name: S.Katyal, SPC, Ephyra
Reason of death: K.I.A. during Private Paduk’s testimony.
Section: North Entrance
Location: In the large burning entrance hall, look against one of the stair platforms to find one side marked with a red skull. Climb the steps and turn left, then left again before leaving through the open doorway. Run down the side lane to find the tag.
COG Tag #5
Gear Name: G.Valera, WO1, Llima
Reason of death: K.I.A. when the final COG lines inside of the Courthouse broke.
Section: Main Entrance
Location: At the end of the section, look right of the burning doors to find an open doorway marked with a red skull. The tags are just right of the door.
COG Tag #6
Gear Name: K.Barrick, PVT, Port Lorrence
Reason of death: K.I.A. during Lt. Baird’s second testimony.
Section: Great Staircase
Location: Continue past the exit waypoint and explore up the steps. Continue up and around the stonework to a bloody spot near the sandbags.
COG Tag #7
Gear Name: D.Jones, CPT, Andius
Reason of death: K.I.A. shortly after trying to warn Col. Loomis to postpone Kilo Squad’s tribunal.
Section: Plaza for the Tyran Dead
Location: During the final battle, the boss will retreat to the center square of the arena. Look left of the perch to find the tag on the ground near the red skull marker.
Aftermath
COG Tag #1
Gear Name: D.Rovik, BG, Ephyra
Reason of death: K.I.A. during Locust attack on Halvo Bay.
Section: Reunion
Location: After taking out the Locust with Mortars and clearing the area, turn around and check the right side of the entrance stairs for a red skull. Behind the pillars is a hidden tag.
COG Tag #2
Gear Name: H.Mahawar, SPC, Soteroa
Reason of death: K.I.A. by Karn during Locust attack on Halvo Bay.
Section: Anybody Home?
Location: Weaving through the wreckage at the start of the section, you’ll eventually enter an open garage. Look behind the cars just as you enter the garage to find a small lit area full of dead bodies.
COG Tag #3
Gear Name: M.Blythe, SGT, Kinnerlake
Reason of death: K.I.A. while protecting the COG Engineering Corps during its boy-recovery effort in Halvo Bay.
Section: Dead End
Location: Up the stairs of the facility, you’ll eventually reach a room with a metal door ahead. Just left of the stairwell is a smaller door you can kick open. Enter the first room on the right and look in the back corner.
COG Tag #4
Gear Name: D.Strome, PVT, Halvo Bay
Reason of death: K.I.A. by Karn during original Locust invasion of Halvo Bay.
Section: One Step Closer
Location: When you’re stopped by Locust snipers, the team will need to move through several ruined buildings. Inside the larger building with a pale blue wall with a single light on a counter, take the steps down and look left behind a jutting wall in the watery basement.
COG Tag #5
Gear Name: D.Galvin, CPL, Mercy
Reason of death: K.I.A. during final evacuation of Halvo Bay.
Section: Straight to the Top
Location: Continuing through the ruined building and dropping down through a destroyed floor, you’ll eventually find an office guarded by Locust. Clear them out past the deck, vault through the window and immediately turn left to spot the tag near the rubble.
COG Tag #6
Gear Name: M.Cohen, 1LT, Ephyra
Reason of death: K.I.A. during Col. Loomis’s last stand in Halvo Bay.
Section: A Few Complaints
Location: Working through the restaurant, you’ll reach a kitchen marked “Galley” protected by more Locust. Stick to the left wall as you enter to find an open door leading into a pantry. There’s a dead body inside with the very last COG tag.
DISCLAIMER
Portions of the materials used are ®, ™,(mr), and/or (mc) Epic Games, Inc., and/or copyrighted works of Epic Games, Inc., in the United States of America and elsewhere. All rights reserved, Epic Games, Inc. This material is not official and is not endorsed by Epic Games, Inc.


